These instructions are for making a 1 quart mason/canning jar of Kombucha 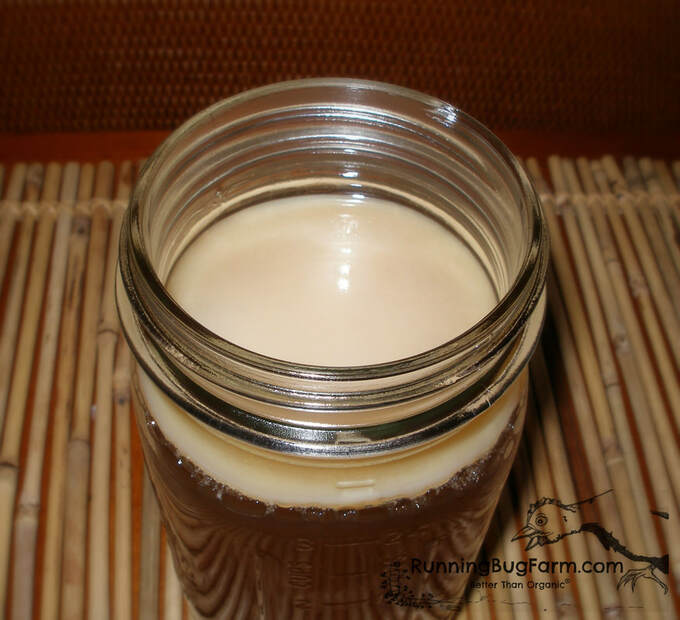 Making Kombucha at home is much more economical, environmentally friendly & healthier then buying bottles of Kombucha at the store. Once you get started, you can keep going from that one original starter and even get "babies" (more SCOBY)! If you ordered your organic SCOBY from me, you will want to refrigerate it right away & begin to culture it in no less than two days. It is hungry & miserable after it's trip from me to you & needs TLC. Remember, it is alive! Always start with clean utensils, jars & pots. Cleanliness is critical. You do not want anything else growing in your tea! It can get bugs, larvae & mold if you are not careful in every step of the process! Chlorinated water can kill the Kombucha microorganisms. Distilled, well, or good bottled water works best. Never use any metal except stainless steel. Glass is an excellent choice. Do not use ceramic! Organic black or green tea is the best choice. Do not use tea with flavorings or oils (an example of a flavored or oil added tea is Earl Grey). Use only 100% tea. No additives. Organic sugar cane is a much wiser choice than non organic. Genetically engineered beets are now allowed & in use on the market. You won't know they're GMO beets because the ingredients will simply say "sugar." Do not use artificial sweeteners of any kind. Do not use agave, honey, or maple syrup. Sugar cane is the only acceptable source of food for the culture. 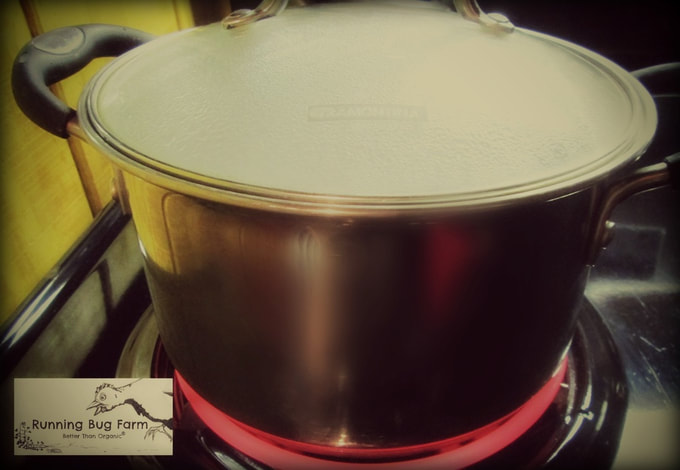 Heat approx. 3 Cups of water until boiling for black tea. If using green tea, heat the water until it just starts to boil. Water that is too hot creates a burnt taste & damages delicate green tea leaves. 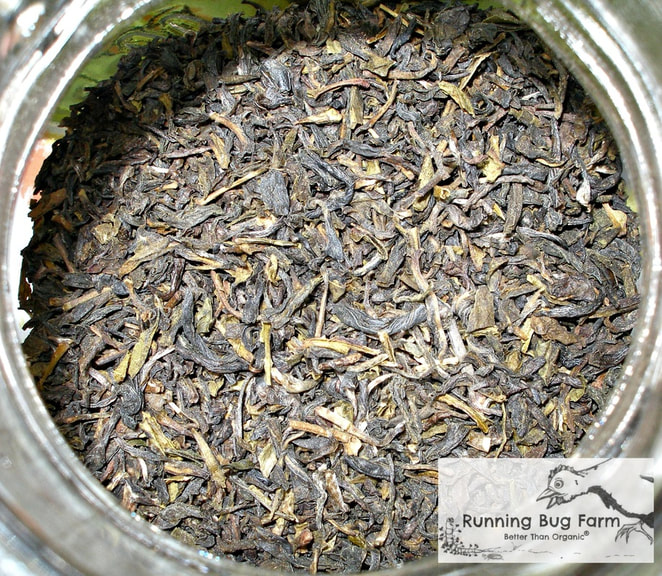 Turn off heat & add 3 tsp. of organic plain loose leaf black or green tea. Or 3 tea bags of the plain organic black or green tea of your choice. Add more or less tea depending on how strong you like your tea. If you choose tea bags, make sure they are not made from plastic. Plastic tea a bags often have catchy names such as "pyramid" or "silken". Don't be fooled. Look for natural, untreated paper tea bags. 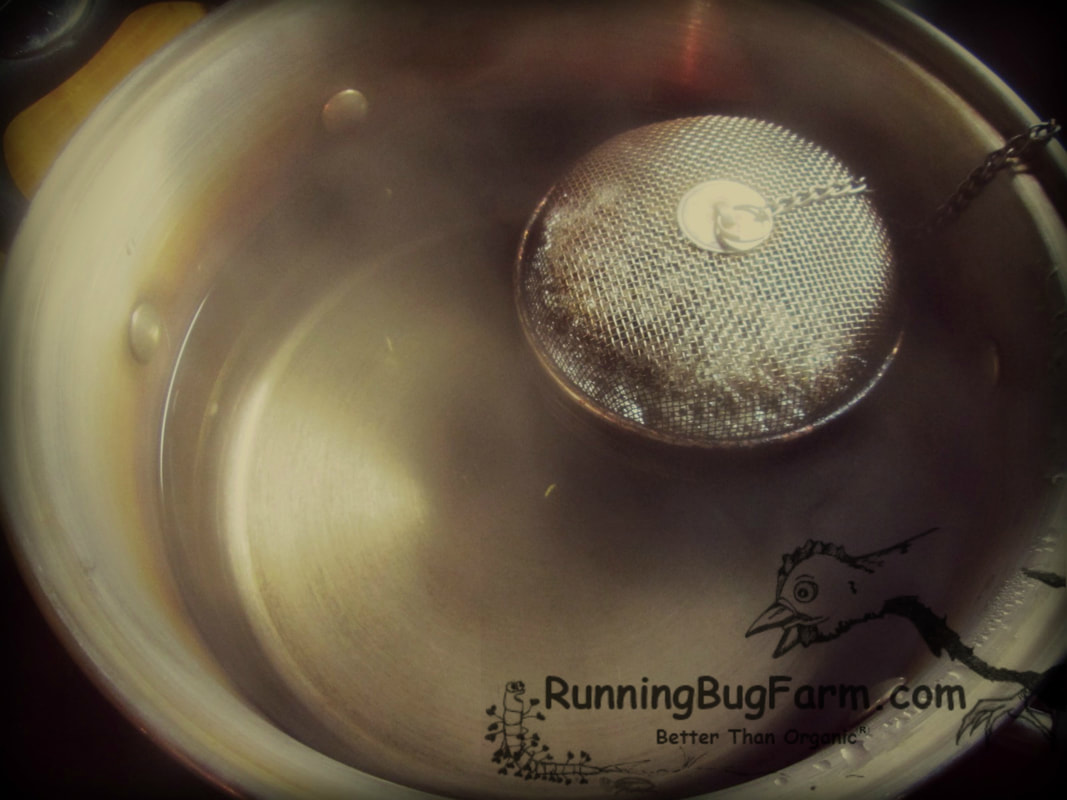 Steeping for 3 - 4 min. is the average time for black tea. Or 2 - 3 min. for green tea. Make sure you cover the pot while your tea is brewing. You don't want anything getting in your brewing tea that shouldn't be there! After you remove the tea, let the freshly brewed tea cool (covered) to room temperature. Get a large stainless steel tea ball here. Note: If you want your tea very strong tasting, you can allow the tea to brew until you are ready to add the sugar. It's your Kombucha, make it how you like it. 😋 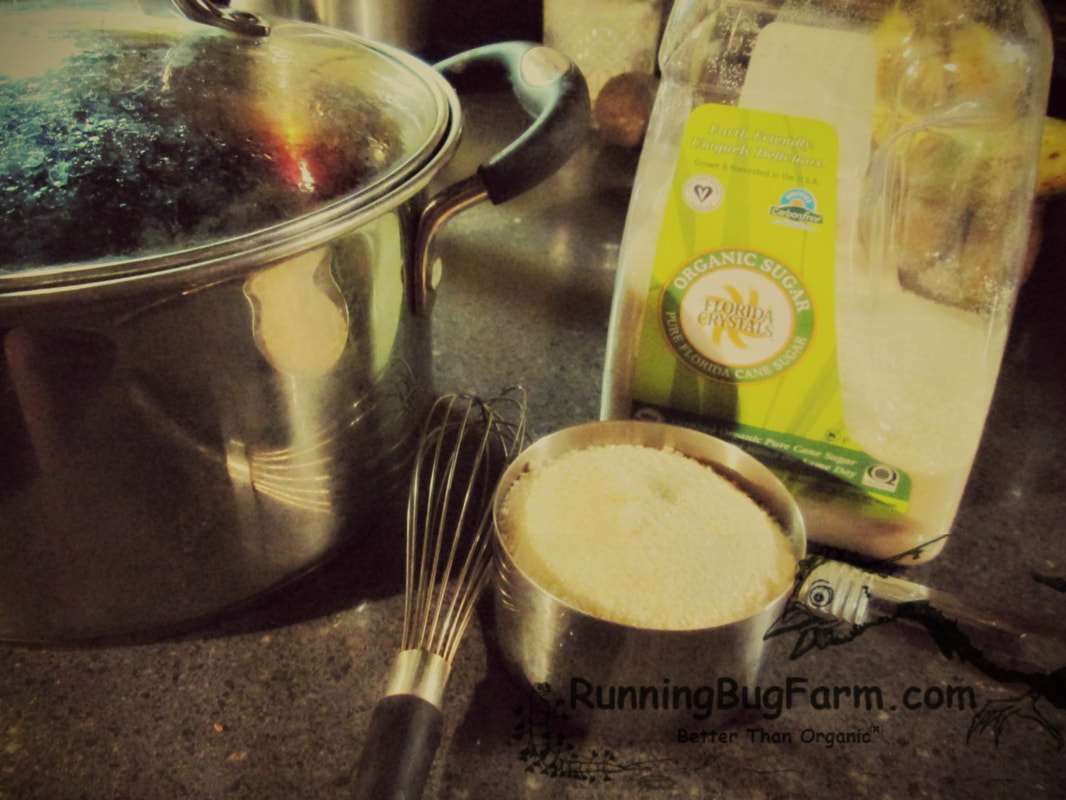 Once the tea has cooled, add approx. 1/4 C of organic sugar cane. 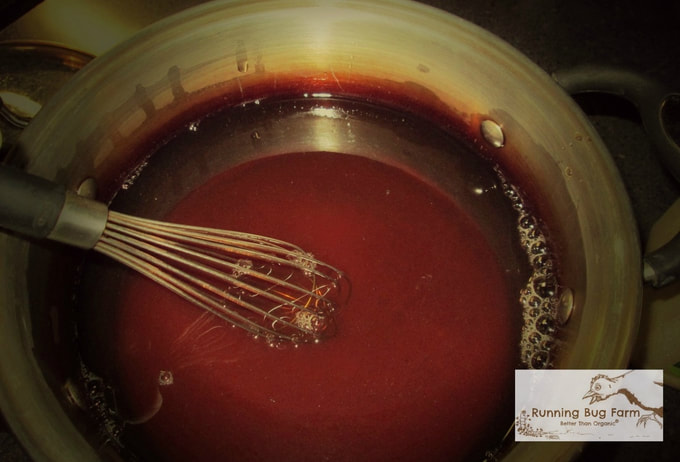 Make sure the sugar dissolves completely. I like to do this step when the tea is luke warm, making it easier to dissolve the sugar. Once the sugar is dissolved & the brewed tea is at room temperature, add the brewed tea to your mason jar. 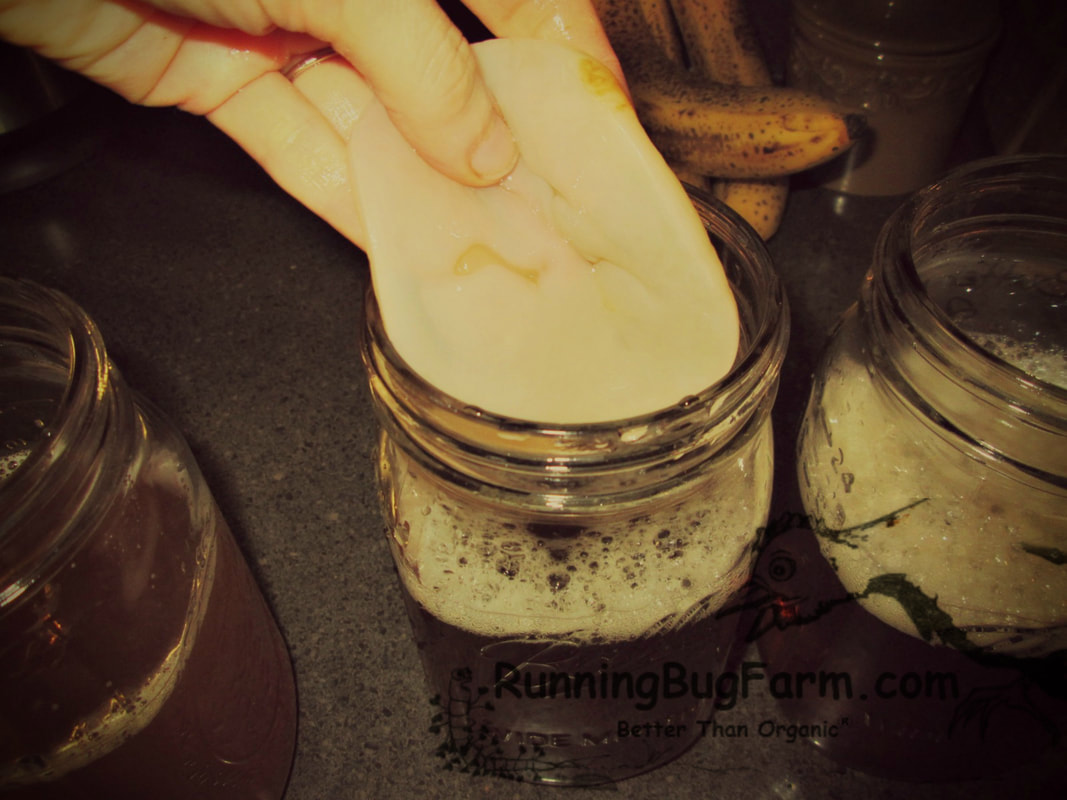 Next you add the SCOBY & the liquid (K-tea) it is floating in. You now need to cover the jar but it has to be able to breath. You can use a unbleached paper coffee filter OR 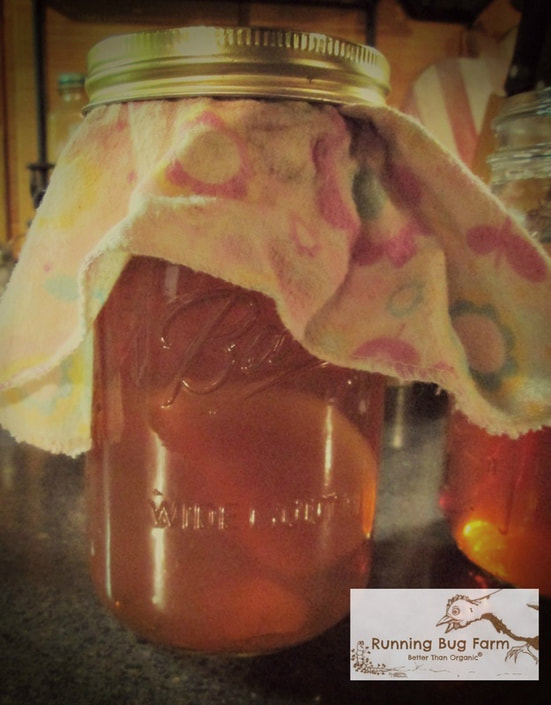 A fabric jar cover. A fabric jar cover can be purchased custom made for covering Kombucha vessels. Or you can use an old clean cut cloth aka rag (think Zero Waste), a hankie, or make your own. Any natural reusable cloth cover is the most eco friendly option. Should it become soiled, just toss it in the wash. The cloth or coffee filter needs to be secured to the top of the jar so that bugs cannot get in. A tight rubber band or a canning jar band are both great options. Find a nice dark place that is at room temperature. Store the Kombucha brew undisturbed for 5 - 7 days. The longer you let it sit the more vinegary it gets as the culture eats the sugar. The cooler the temps are inside, the longer it will take to ferment. In warmer temps, it can ferment very quickly. If your temps are rather low, you can place a fermentation mat or wrap under the jar/s or even let the jar/s sit on top of your refrigerator or freezer. In the winter I like to keep mine on top of my freezer as the top gets pretty warm. In the summer I either slow down how many vessels I have fermenting or I move them to a cooler area of my cabin that is not my kitchen. Note: a mat is not required to successfully ferment your kombucha. In cooler temps. it will simply take longer. How long, depends on the temp of your home & how sweet you want your finished product to be. If you don't like to wait or want a stronger more vinegary brew, you might want to invest in a heat mat/pad. 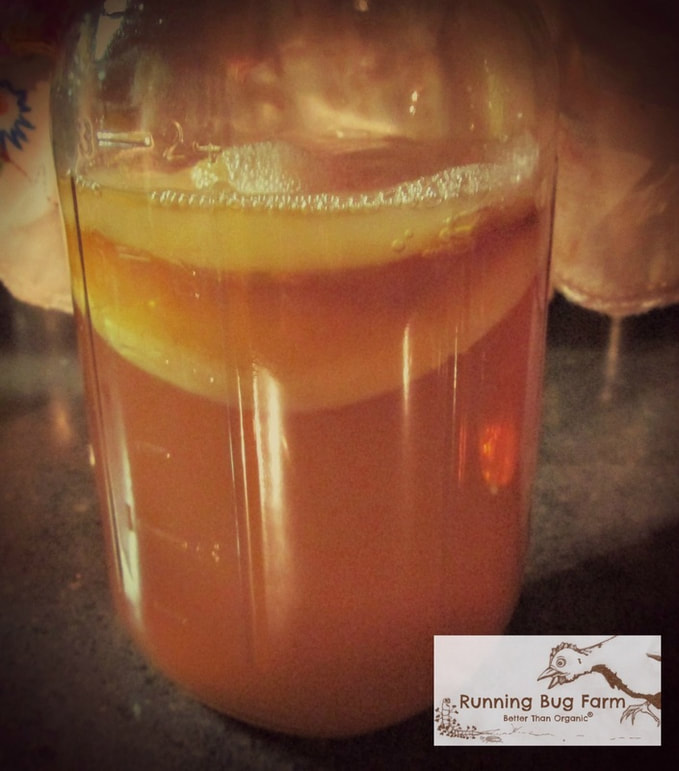 By the 5th, 6th, or 7th day you can start the process all over again by using either the newly formed SCOBY, the mother SCOBY or both plus approx. 1/4 C of your Kombucha tea (KT). Place the finished KT in your refrigerator to slow fermentation. It should be slightly effervescent & vinegary. I like to drink mine right away with a little freshly squeezed organic lemon or organic lime. I also enjoy adding a bit of organic ginger root & organic lemon. For a healthy urinary tract, I'll add a splash of organic unsweetened cranberry juice not from concentrate.  Remember, you can make KT over & over again from your first starter! Soon you'll have enough to share! If you find yourself overrun with SCOBY, you can toss them into your compost pile (you do have a compost pile don't you?) or feed them to your chickens if applicable. 🐔🐔🐔 Commonly Asked Questions"I see black stuff. I know it's mold. I want a refund." - Black stuff is not mold. What you are seeing are spent yeast strands. This is perfectly normal. THIS IS MOLD 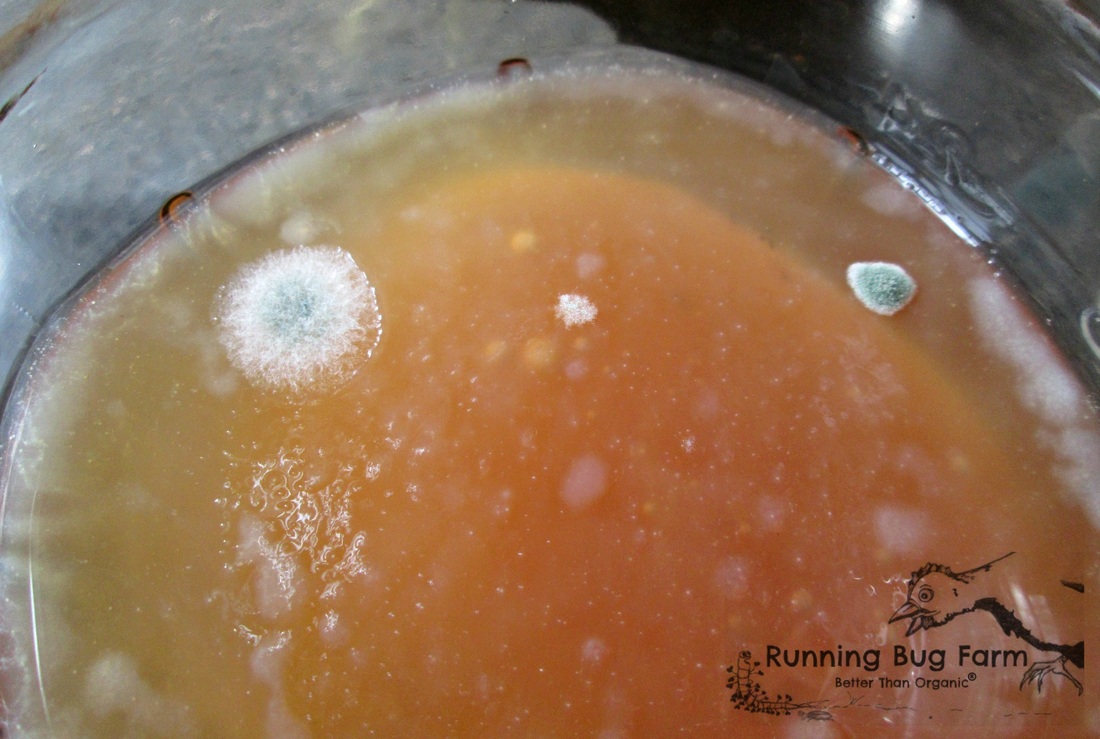 THIS IS NOT MOLD 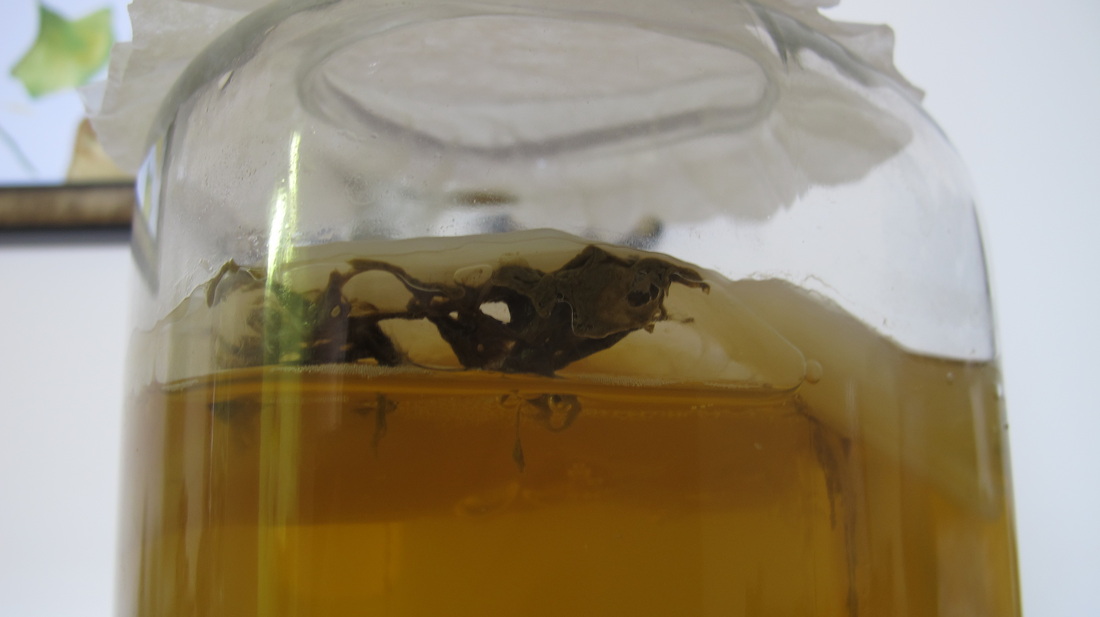 THIS IS MOLD 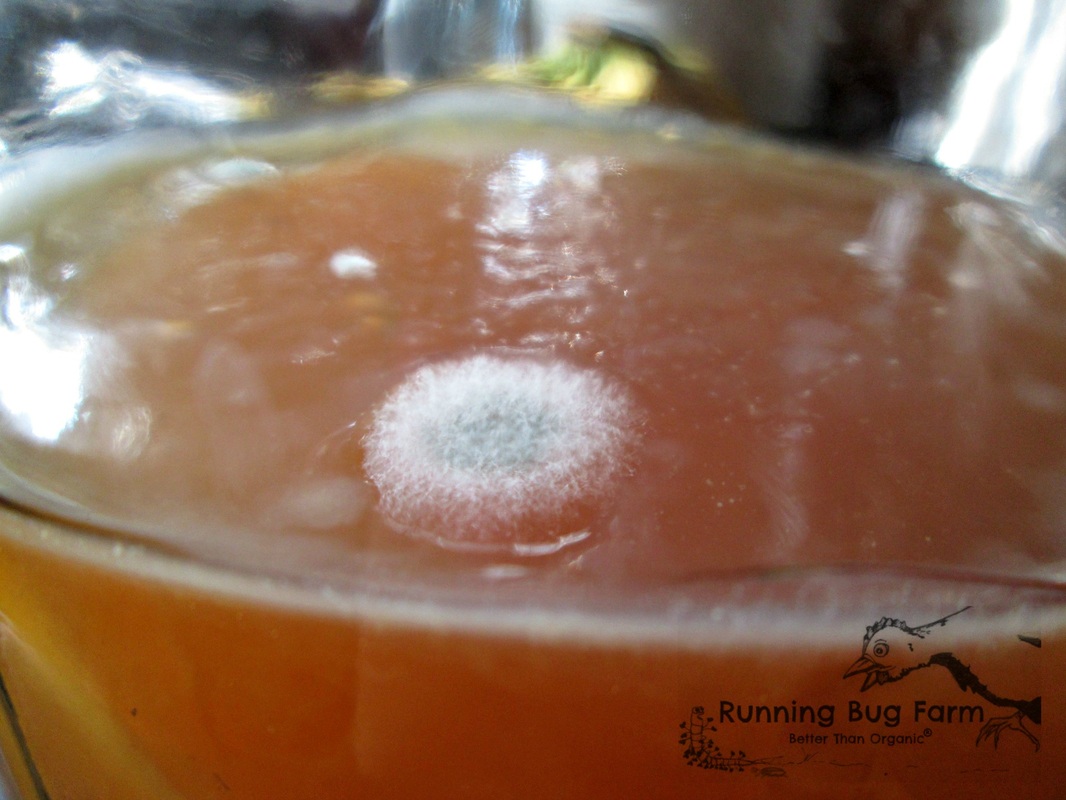 THIS IS NOT MOLD 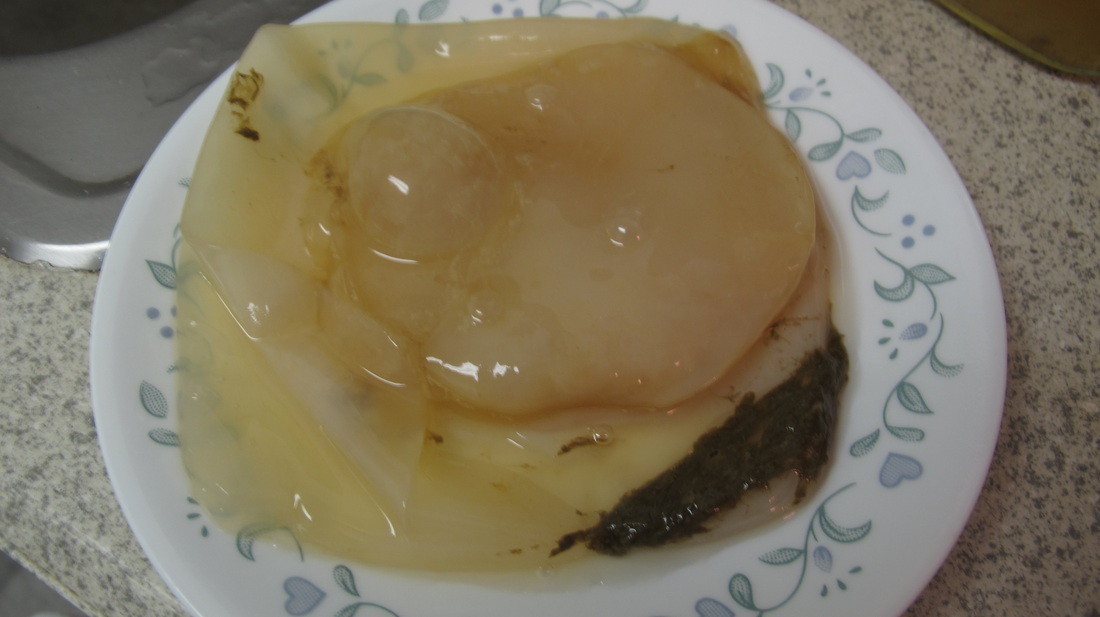 As previously mentioned, the darker sections are spent yeast strands. This is normal & healthy. It is NOT mold. 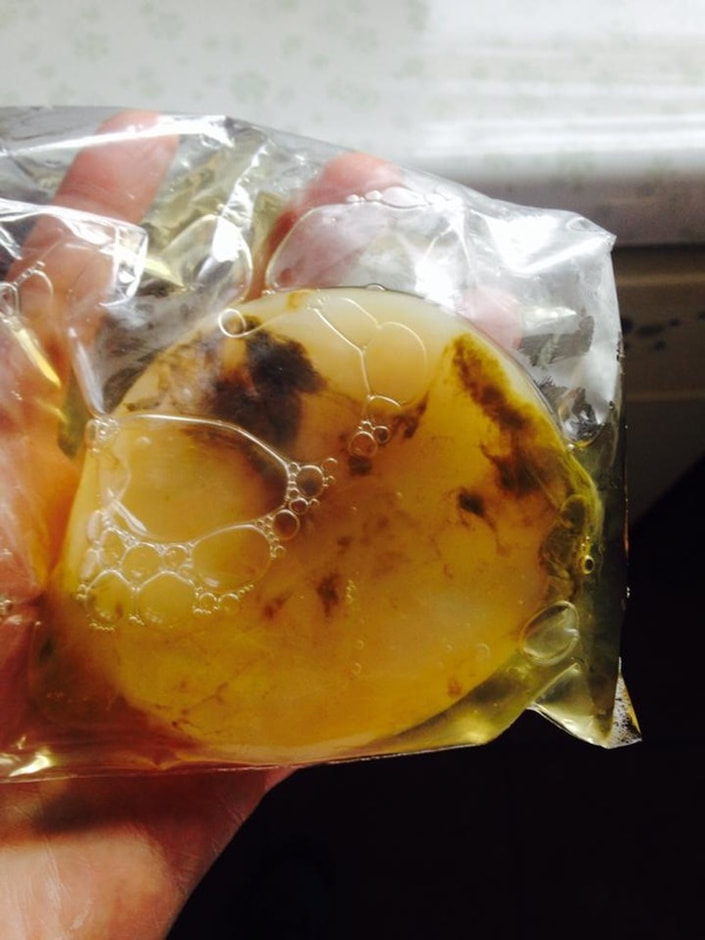 "My order will sit over the weekend at the post office. It is very hot out will it be okay?" - Yes as long as you follow our instructions everything will be fine. Remember the post office is temperature controlled, it will not be the same temperature as outdoors. "My order will sit over the weekend at the post office. It is very cold out. Will it be okay?" - Yes as long as you follow our instructions everything will be fine. Remember the post office is temperature controlled, it will not be the same temperature as outdoors. "I am going on vacation is it okay if my order sits in my mailbox until I get home?" - NO! Do not order any culture if you will not be able to receive it the day it is delivered. "My SCOBY is on the bottom of the jar. Is it okay?" - Yes. Sometimes a SCOBY will rest at the bottom of the jar. Many times it will rise to the top. "My SCOBY is not floating at the top of the liquid, it is sideways. Is it okay?" -Yes. Sometimes a SCOBY will not sit at the top of the liquid. If it stays sideways a new SCOBY will likely form above it as it ferments.
0 Comments
|
Affiliate DisclosureAs an Amazon Associate, I earn from qualifying purchases.
This page may contain Amazon affiliate links. If you choose to make a purchase after clicking a Amazon link, I may receive a commission from Amazon at no additional cost to you. As always, Thank you so much for your support. I couldn't do what I do without you! Categories
All
Archives
April 2024
 Hi there! My name is Jen. I'm a "tree hugging dirt worshiper" who has been organically farming for nearly two decades. It never ceases to amaze me at how much I've learned & how much I am still learning. I have studied natural health, nutrition, & herbs for nearly three decades. Our health & the natural world around us are connected in ways we don't often realize. How we treat the land & animals directly affects us in both body & mind. My goal is to provide others with truly natural humane goods from my own little piece of paradise, & to freely pass along whatever knowledge I pick up along the way. I am grateful every day to be able to have such a worthwhile & fulfilling job surrounded by the beauty & unpredictability of Mother Nature. Hi there! My name is Jen. I'm a "tree hugging dirt worshiper" who has been organically farming for nearly two decades. It never ceases to amaze me at how much I've learned & how much I am still learning. I have studied natural health, nutrition, & herbs for nearly three decades. Our health & the natural world around us are connected in ways we don't often realize. How we treat the land & animals directly affects us in both body & mind. My goal is to provide others with truly natural humane goods from my own little piece of paradise, & to freely pass along whatever knowledge I pick up along the way. I am grateful every day to be able to have such a worthwhile & fulfilling job surrounded by the beauty & unpredictability of Mother Nature.

Copyright
You're welcome to link to Running Bug Farm or use a single image with a brief description to link back to any post. Republishing posts in their entirety is prohibited. |
 RSS Feed